

امروزه بلیچینگ دندان در خانه به یکی از روشهای محبوب برای دستیابی به سفیدی دندان تبدیل شده است. اینکار علاوه بر صرفهجویی در هزینه، دسترسی سریع و راحتی را برای علاقهمندان فراهم میکند. با این حال، اجرای نادرست تکنیکها یا استفاده از محصولات بیکیفیت میتواند منجر به حساسیت یا آسیب دیدن مینای دندان شود. In this article, we will tell you how to do teeth bleaching at home to have a whiter smile with high safety and effectiveness.
What is teeth bleaching?
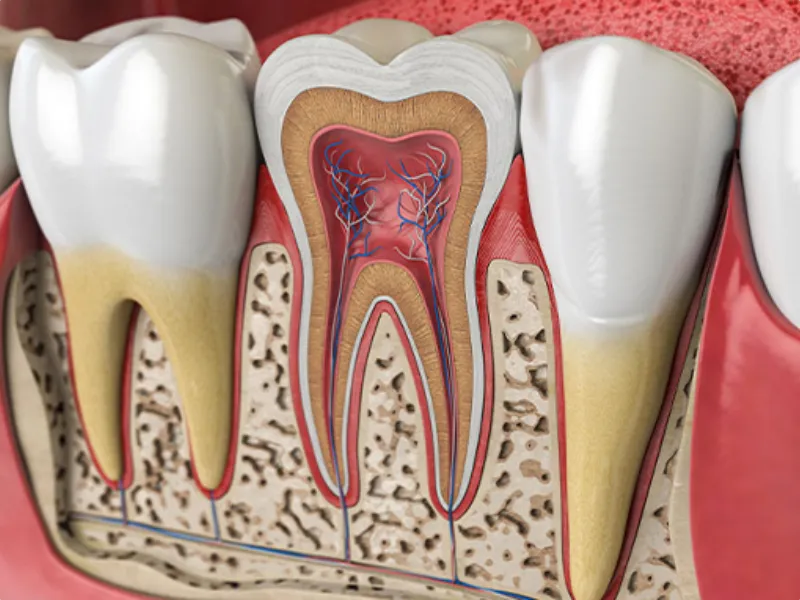
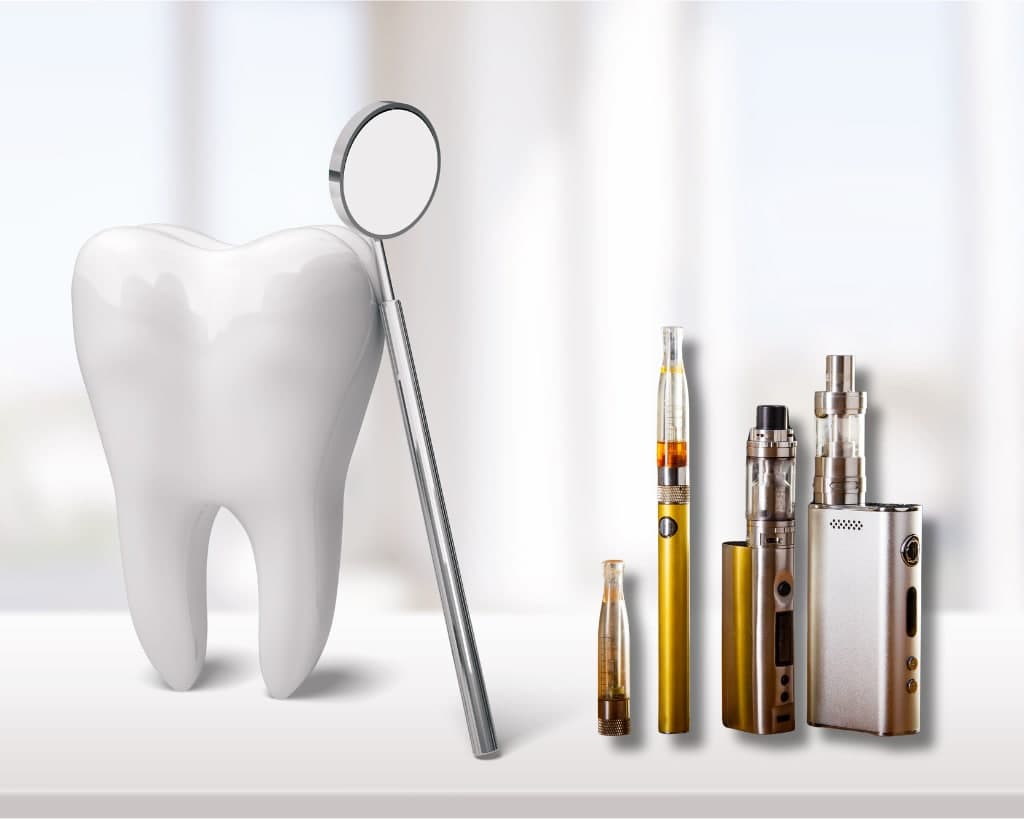
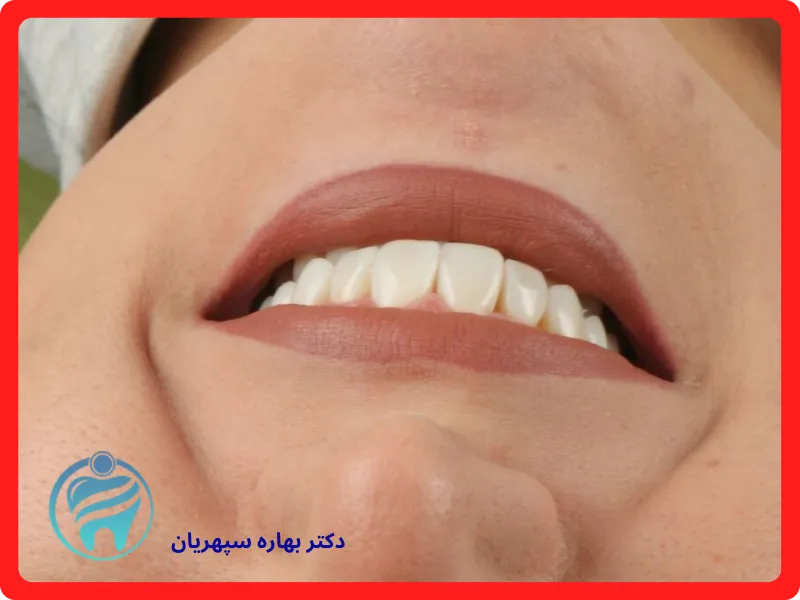
teeth bleaching (Bleaching) is an effective method to remove yellow spots and change surface colors caused by eating colored food, smoking or passing time. During the consultation, the dentist will check the intensity and type of stains to determine the appropriate concentration of the whitening gel.
To whiten teeth, compounds based on hydrogen peroxide are used. In home bleaching, they usually use a concentration of 3 to 15% hydrogen peroxide, but in dental centers, the concentration of this substance is adjusted between 15 and 40% in order to obtain a more impressive result.
Teeth bleaching materials at home
It is necessary to perform teeth bleaching at home from The best teeth bleaching materials use, the home bleaching gel formulation includes the main ingredients and auxiliary ingredients that are introduced below:
-
Hydrogen peroxide and carbamide peroxide
The main bleaching agent is hydrogen peroxide or carbamide peroxide. These compounds change the chemical structure of the stains by penetrating the tooth enamel and breaking down the pigments and create whiteness.
-
Antiallergic substances
In order to reduce sensitivity after bleaching, often auxiliary materials such as potassium nitrate and amorphous calcium phosphate are added to the formula. These substances help to soothe the dentine and reduce the risk of irritation.
-
Gum solutions and protectors
Some kits include gum protective gel or varnish to prevent direct contact of the whitening agent with the gums and prevent inflammation.
-
Form (Terry) and applicator brush
Soft silicone molds are produced based on the molding of teeth, and pen brushes are used to more precisely control the amount of gel on each tooth.
For further review you can View the comparison of teeth bleaching at home and bleaching in the office to see which is better.

Key points before starting teeth whitening at home
To achieve the best result and reduce Complications of teeth bleaching, before starting teeth bleaching at home, you should pay attention to some points.
-
Inspection and repair of caries
Be sure to check the health of the teeth by a dentist and repair any decay before bleaching to avoid hypersensitivity or pain aggravation.
-
Carrying out crime
The removal of dental plaque and tartar has a direct effect on the effectiveness of the bleaching gel. A scaling session prior to bleaching provides a cleaner enamel surface for the bleaching agents to penetrate.
-
Awareness of limitations
Bleaching only affects natural teeth and does not affect laminate teeth, crowns, fillings or root-represented areas.
-
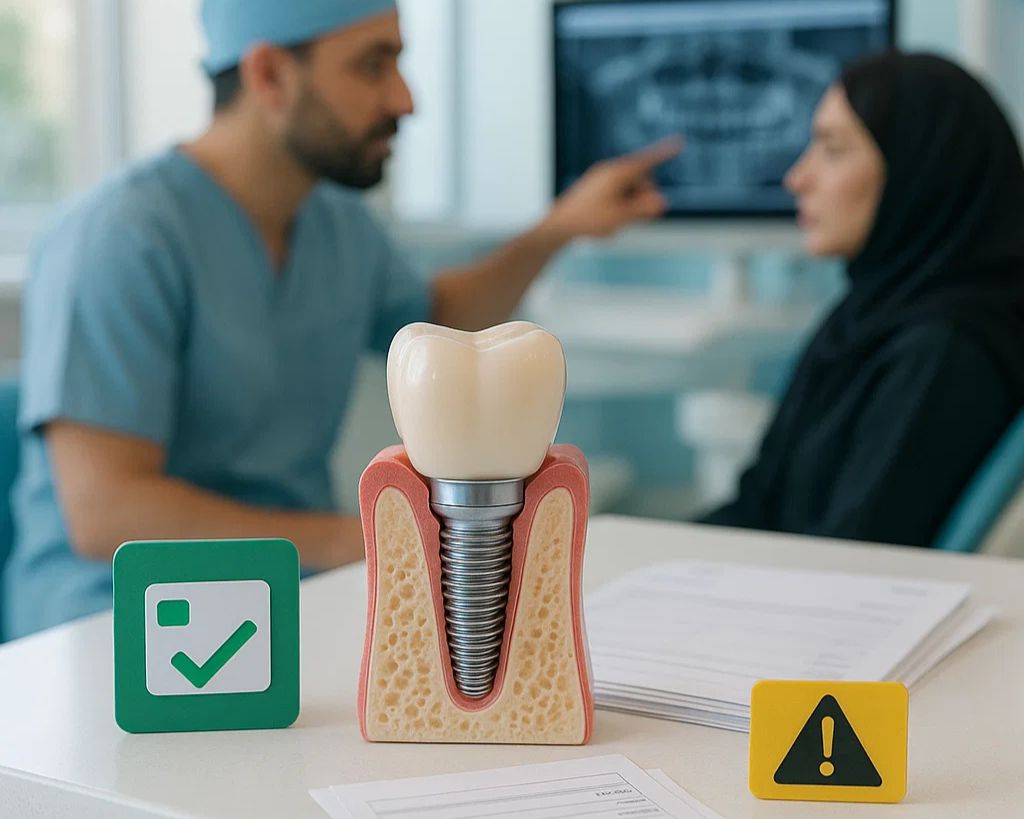
Consultation with a cosmetic dentist
Determining the appropriate concentration of hydrogen peroxide and the desired percentage of whiteness requires experience and specialized knowledge. To precisely adjust the process and prevent possible complications, act under the supervision of a cosmetic dentist.
Teeth bleaching steps at home
To start the home bleaching process, it is necessary to see a dentist.
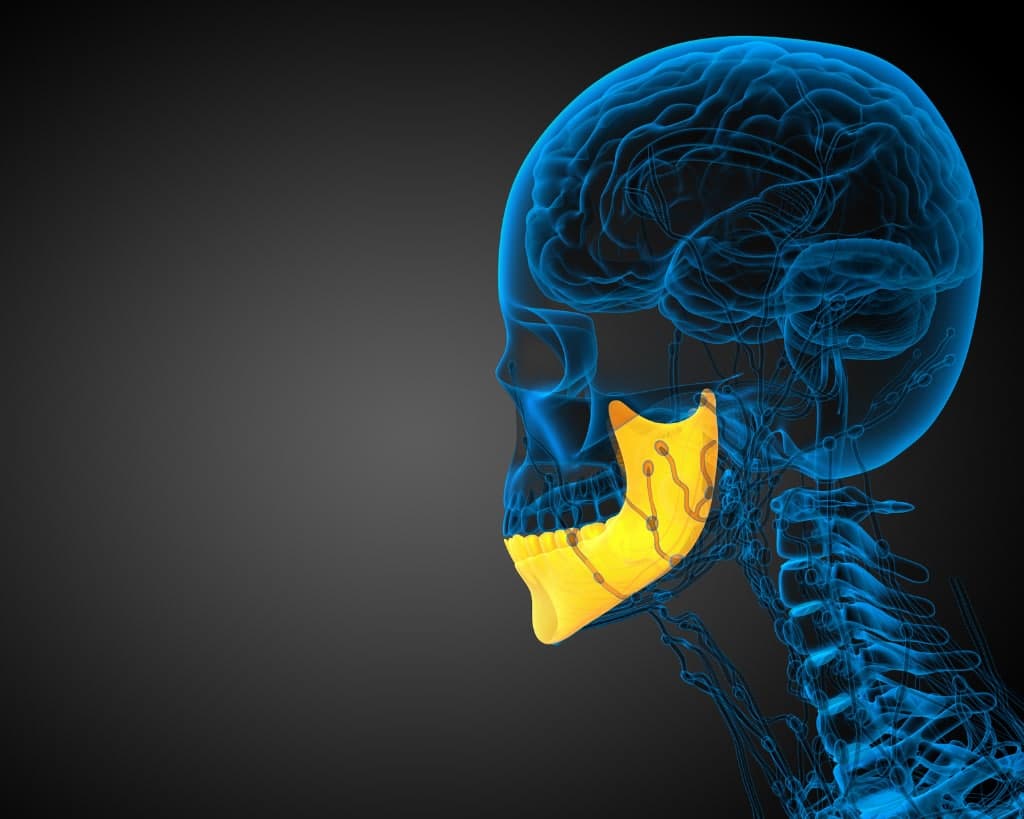
- In the first session, a special mold (tri) is prepared for the upper and lower jaw so that the whitening agent can be properly placed on the teeth. These molds must be completely compatible with the structure of your jaw, because the bleaching gel has a certain concentration and if it leaks into other areas of the mouth, it can cause serious digestive complications.
- In the second session, the bleaching gel is delivered to the patient to use it every night between 4 and 6 hours for two weeks. After the end of this period, visible results appear in the whiteness of the teeth.

How to use home bleaching gel
In order to achieve the desired results and prevent the possible damage of teeth bleaching at home, it is necessary to follow the following steps:
- Before each use, clean the teeth thoroughly with a toothbrush and dental floss.
- Appropriate amount of gel, about one drop for each tooth, should be placed inside the mold.
- The mold should remain in the mouth for at least two hours (in some cases up to 6 hours).
- If the gel is removed from the mold, immediately wipe it with a clean tissue to avoid contact with the soft tissues of the mouth.
- After removing the mold, wash the mouth with a toothbrush and lukewarm water to remove the remaining gel.
- For each use, only one mold (upper or lower) is placed in the mouth and the molds are used alternately.
How to prepare home bleaching with a ready kit
Home bleaching at home is limited to using standard kits. The following steps explain how to properly prepare the kit:
-
Consultation and molding
To ensure that the mold is compatible with the jaw structure, first visit a dentist and get a special silicone mold for both jaws.
-
Check the contents of the kit
After receiving the kit, make sure it includes the gel syringe with the correct concentration, the templates, the applicator pen and the manual.
-
Adjust concentration and dose
According to the dentist's order, the concentration of the gel (10-22% carbamide peroxide) and the dosage are determined for each session.
-
Form and gel preparation
Place the recommended amount of gel into each mold compartment. Be careful not to spill the gel on the gums to avoid sensitivity and inflammation.
-
Template Maintenance
After each session, clean the molds with water and a soft toothbrush and put them in a special box so that they are not contaminated.

Home bleaching toothpaste
Teeth pastes for home bleaching complement the professional whitening process or maintain the bleaching results. The features and how to use them are:
Common combinations
These toothpastes usually contain sodium bicarbonate (baking soda), hydrogen peroxide or carbamide, soft silica for scaling and fluoride to strengthen tooth enamel.
How to use
Like regular toothpaste, brush your teeth twice a day. For tangible results, it is often recommended to use these products 2-3 times a week, so that the tooth enamel is not subjected to severe erosion.
Advantages
- reduction of surface stains
- Prevention of plaque formation
- Pleasant taste and lasting whiteness
Continuous use of whitening toothpaste can prolong the interval between gel therapy sessions.

Safety Tips
Excessive use or brushing with too much pressure can damage tooth enamel. It is recommended to periodically consult your dentist regarding the sensitivity and condition of tooth enamel.
Conclusion
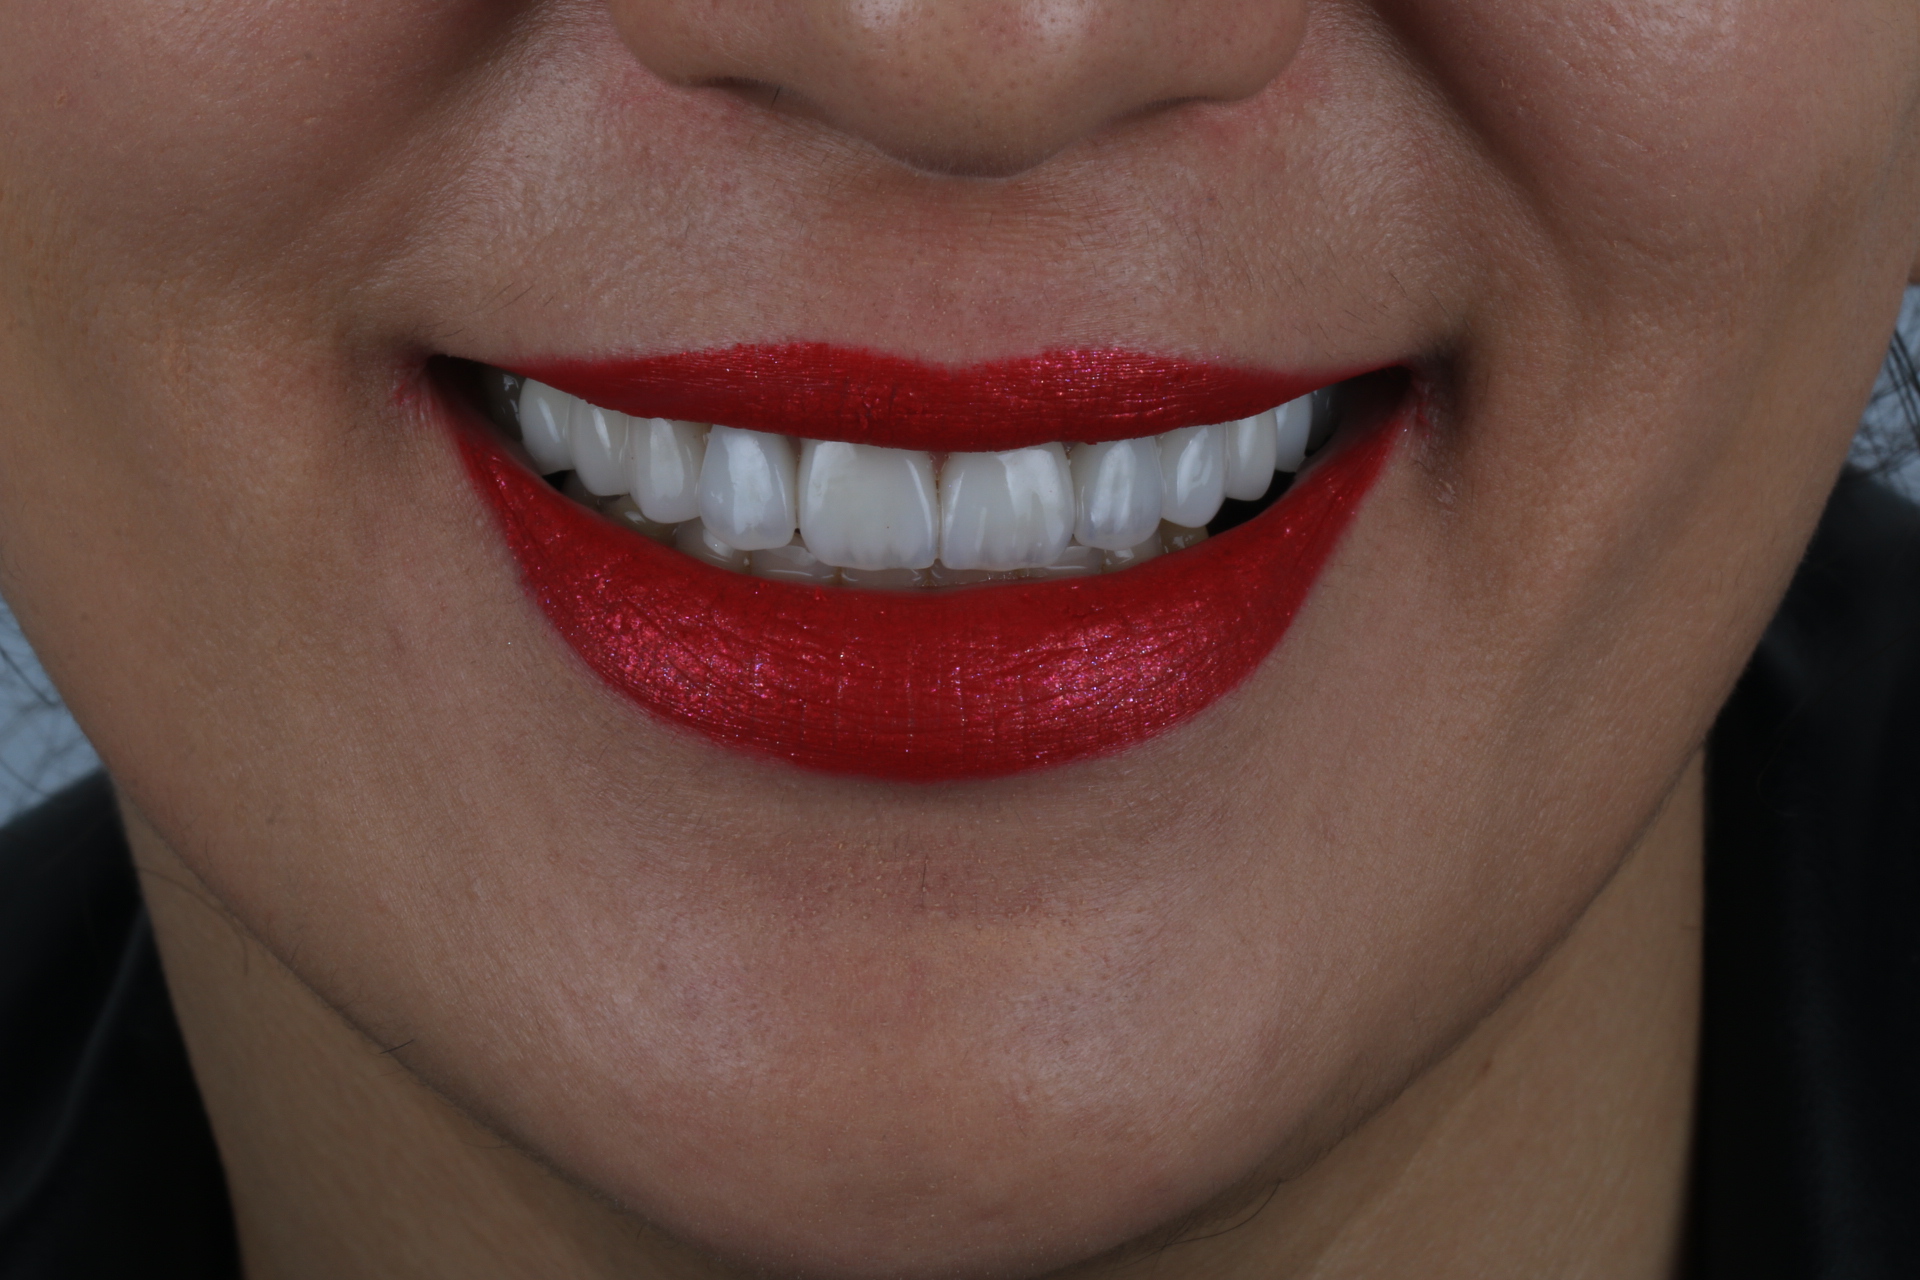
By observing safety principles and using standard products, teeth bleaching at home can be an affordable and convenient way to achieve desired whiteness. Homemade gels, home bleaching toothpaste and ready-made kits, along with following the dentist's advice, will guarantee a bright and healthy smile.
Please check your oral and dental health before starting any treatment period and act under the supervision of a specialist to prevent complications and obtain more lasting results. If you want to do teeth bleaching in the office, you can visit Dental office of Dr. Bahare Sepehrian. You can call now for advice 02122095852